By the end of this guide, you will be able to map out the entire home battery installation process from first sizing calculation to final utility approval, understand what each step costs and how long it takes, and recognize the points where first-time buyers most often lose time or money. Battery storage is a multi-stage project with permitting, electrical work, and utility coordination layered on top of each other, and the sequence matters more than most buyers realize when they start.
Step 1: Define What the Battery Is For
The single biggest mistake first-time buyers make is shopping for equipment before deciding what problem the battery solves. A system sized for backup power during outages looks different from one sized to shift solar production into evening hours, and both differ from a system meant to reduce demand charges or participate in a utility program.
Rough capacity benchmarks, based on typical residential consumption:
- Essential backup only (refrigerator, lights, internet, phone charging): 5–10 kWh covers most homes for 8–12 hours.
- Partial home backup (adds a few circuits like a well pump or furnace fan): 10–15 kWh.
- Whole-home backup: 20–30+ kWh, sometimes more depending on air conditioning and heating type.
- Daily bill-shifting with solar: 10–20 kWh is a common range, sized against evening usage rather than outage duration.
Write down which of these describes your goal before moving to Step 2. Every later decision — equipment, cost, wiring, permitting — flows from this.
Step 2: Check Whether Your Home Can Support It
Not every home is a straightforward battery candidate. Before requesting quotes, check these conditions:
- Available wall or garage space: most units need roughly 3–5 square feet of wall area each, plus clearance for code-required working space.
- Electrical panel capacity: an older 100-amp panel may need an upgrade before a battery and additional circuits can be added. Panel upgrades commonly run $1,500–$4,000 on their own.
- Temperature exposure: lithium-based batteries lose capacity and lifespan in extreme cold or heat. A garage, conditioned basement, or shaded exterior wall is usually preferable to an unconditioned space with wide temperature swings.
- Distance from the main panel: longer runs of conduit and cable add cost, typically several hundred dollars per additional 20–30 feet.
If your panel is already at capacity or your only mounting location is a freezing detached shed, factor that into your budget estimates before comparing battery prices.
Step 3: Decide on Battery Chemistry and Type
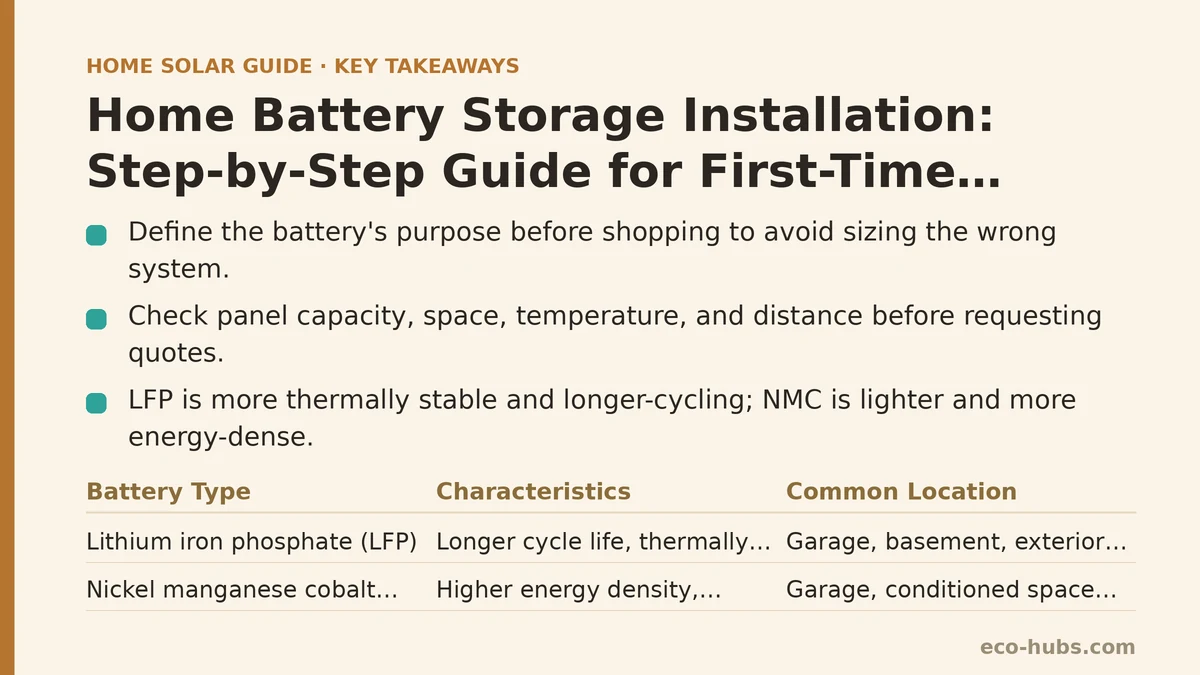
Two main chemistries dominate the residential market, and the choice affects cost, safety, and where the unit can be installed.
| Type | Typical Characteristics | Common Installation Location |
|---|---|---|
| Lithium iron phosphate (LFP) | Longer cycle life, more thermally stable, slightly larger and heavier per kWh | Garage, basement, exterior wall |
| Nickel manganese cobalt (NMC) | Higher energy density, lighter, historically more common in older models | Garage, conditioned space preferred |
Most current residential offerings have shifted toward LFP because of its cycle life and thermal stability. Whichever you choose, ask for the round-trip efficiency figure (commonly 85–95%) and the warranted cycle count, since those two numbers drive long-term value more than the headline capacity.
Step 4: Get Quotes and Verify the Sizing
Request at least three quotes and ask each installer to show the load calculation behind their proposed capacity. A quote that says “10 kWh” without explaining which circuits it backs up or how long it will last is incomplete.
Ask directly:
- Which specific circuits will be backed up, and what is the estimated runtime for each?
- What is the usable capacity versus the nameplate capacity? (Usable is often 80–90% of nameplate.)
- Does the quote include a critical load subpanel, or is that billed separately?
- What inverter is paired with the battery, and is it a hybrid inverter or a separate unit?
Installed costs for residential battery systems commonly land in the range of $1,000–$1,500 per kWh of usable capacity before incentives, though this varies widely by region, equipment, and whether a panel upgrade or subpanel is included. A 10 kWh system frequently falls somewhere between $10,000 and $18,000 installed.
Step 5: Understand Incentives Before You Sign
The federal residential clean energy credit has historically covered a percentage of battery storage costs when the battery meets capacity and siting requirements, and the credit has generally applied to the equipment and installation labor. Rules, percentages, and eligibility have changed across tax years, so confirm the current terms with a tax professional or the official IRS guidance before assuming a specific percentage.
State and utility programs add a second layer. Some utilities offer rebates per kWh of storage, and a few run virtual power plant (VPP) programs that pay you for allowing the utility to draw on your battery during peak demand. If you enroll in a VPP, read the terms carefully — some programs limit how much backup capacity you retain during certain events.
Step 6: Permitting and Utility Interconnection
This is the stage first-time buyers most often underestimate. The physical installation might take one to three days, but permitting and interconnection approval can add weeks or months on top.
Typical sequence:
- Installer submits permit application to your local jurisdiction.
- Local inspector reviews, sometimes requesting revisions.
- Permit issued; installation scheduled.
- Installer submits interconnection application to your utility.
- Utility reviews and may require a witness test or additional equipment (like a visible disconnect).
- Utility grants permission to operate (PTO).
In some jurisdictions, steps 1 through 6 run 6–12 weeks end to end. In areas with heavy solar and storage adoption, longer waits are common. Ask your installer for their typical timeline in your specific utility territory, not a national average.
Step 7: Installation Day and What to Expect
A straightforward battery install with an existing hybrid inverter typically takes one to two days. If a critical load subpanel is being added or the main panel is being upgraded, budget three to five days.
What happens on site:
- Power is shut off for part of the day while circuits are moved to the backup panel.
- The battery is mounted, anchored, and connected to the inverter.
- Conduit and wiring are run between the battery, inverter, and main panel.
- The system is commissioned and briefly tested, often with a simulated grid outage.
Plan for a partial-day power interruption, and clear access to your garage or the chosen wall beforehand. Pets, vehicles, and stored items in the work area slow the crew down and add cost.
Step 8: Inspection, Commissioning, and Permission to Operate
After installation, a local inspector verifies the work against code. Then the utility performs its own review or witness test. Until PTO is granted, the battery typically cannot operate in grid-interactive mode, though some systems can be commissioned for backup-only function during the wait.
Do not assume the system is fully live on installation day. Many buyers are surprised to find the battery sitting idle for weeks while paperwork clears. Confirm with your installer what, if anything, the system can do before PTO.
Step 9: Monitor and Maintain After Activation
Once running, most modern systems report performance through a manufacturer or installer app. During the first month, watch for:
- State of charge behavior: is the battery charging and discharging as expected for your rate plan?
- Backup reserve setting: confirm the reserve floor matches your outage needs.
- Firmware updates: these are often automatic but occasionally require a manual trigger.
- Fault codes: any recurring alert is worth escalating to the installer while the workmanship warranty is fresh.
Batteries have few moving parts, so maintenance is minimal. The main long-term considerations are keeping the unit within its rated temperature range, avoiding physical damage, and confirming the warranty transfer terms if you sell the home.
Common Mistakes and How to Recover
Sized too small for real outage needs. If your first outage leaves you short, a second battery can often be added to an existing system, though it may require a new interconnection filing.
Assumed installation day meant activation. If weeks have passed without PTO, contact your installer and the utility directly and ask for the current status in writing.
Missed a utility rebate deadline. Some programs require enrollment before installation. If you discover a missed rebate after the fact, ask the utility whether a post-installation application window exists — some do, many do not.
Chose an installer without battery-specific experience. Solar-only installers may subcontract the battery portion. If workmanship issues appear, clarify which party is responsible before filing a warranty claim.
What to Do Next
Today: write down your primary goal (backup, bill-shifting, or both) and note your main panel amperage, available wall space, and whether that space is conditioned. That single page will make every quote you receive more comparable.
This week: contact two or three installers who work with battery storage routinely in your area, and ask each for a load calculation, a timeline specific to your utility, and the current incentive terms they are seeing. Confirm tax credit eligibility with a qualified tax professional and check your state energy office or utility website for storage-specific programs before signing anything.
Related guides: Solar and Battery Storage for Home Businesses: A Tax and Accounting Guide, Common Home Battery Storage Wiring and Placement Mistakes to Avoid, and Home Battery Storage: Common Mistakes and How to Troubleshoot Them.
🔗 Recommended Reading
- Home Battery Sizing Mistakes That Lead to Blackout Regret
- Common Solar Installer Mistakes Homeowners Should Catch Before Signing
- Common Home Battery Storage Wiring and Placement Mistakes to Avoid
- Solar Payback Period vs Cash-on-Cash Return: Which Metric Should Homeowners Use
- Net Metering Credit Rollover Rules: What Happens at Year End