Most home battery failures that inspectors flag are not manufacturing defects. They are placement and wiring decisions made in the first two hours of the job. A battery that performs flawlessly on a spec sheet can still fail inspection, overheat, or void its warranty because of where it was mounted and how it was connected. The five mistakes below, ranked roughly by how often they cause real problems, cover the issues homeowners and installers run into most.
1. Ignoring Clearance Requirements Around the Unit
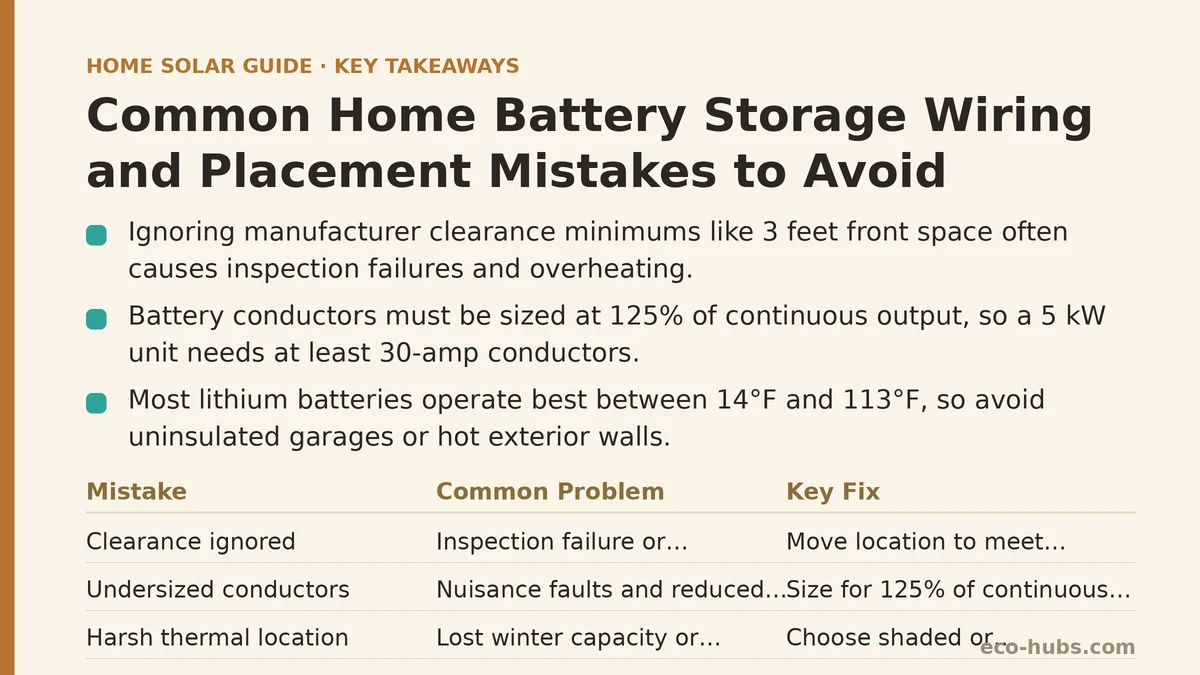
Manufacturers publish minimum clearances — typically 3 feet of working space in front of the unit, 6 to 12 inches on the sides and top, and additional distance from any door, window, or HVAC intake. These numbers are not suggestions. They exist so a technician can safely service the unit and so heat can dissipate.
The most common violation is squeezing a battery into a garage corner that already holds a water heater, a freezer, and shelving. Another frequent one is mounting a unit directly beneath a bedroom window, which most jurisdictions prohibit for lithium-based systems because of fire egress concerns.
If you find this problem before installation: move the planned location rather than negotiating the clearance down. No inspector will approve a non-compliant layout, and re-work after the fact costs far more than choosing a better wall upfront.
If you find it after installation: the correction usually means relocating the unit, which involves new conduit runs and possibly a new permit. Get the inspector’s specific citation in writing before agreeing to any fix.
2. Undersized Conductors and Improper Disconnect Placement
Battery circuits carry substantial continuous current — a 10 kWh unit rated at 5 kW continuous output at 240 V draws roughly 21 amps, and code requires conductors sized at 125% of that continuous load. That means a 30-amp conductor minimum for that circuit, often upsized further for voltage drop if the run exceeds about 50 feet.
Two errors show up repeatedly:
- Reusing an existing 10 AWG circuit because it was already run to that wall. It may be protected by a 30-amp breaker, but the conductor itself is not rated for the continuous load a battery imposes.
- Placing the disconnect switch on the wrong side of the inverter or battery, or omitting it entirely because the unit has an internal breaker. Most codes still require an external, lockable disconnect within sight of the equipment.
Decision rule: if the run from the battery to the main panel exceeds roughly 75 feet, ask the installer to show you the voltage drop calculation. Anything over 3% on a battery circuit tends to trigger nuisance faults and reduced charge rates.
3. Mounting in a Location That Exceeds the Unit’s Thermal Rating
Battery chemistry is sensitive to temperature in ways that solar panels are not. Most residential lithium iron phosphate systems are rated for operation between roughly 14°F and 113°F, with reduced charge rates below freezing and accelerated degradation above 95°F.
Placement mistakes that push a unit outside that window:
- Uninsulated garages in cold climates, where winter temperatures can sit below the lower threshold for weeks. Many units will simply refuse to charge until they warm up, which means lost winter capacity.
- West-facing exterior walls in hot climates, where afternoon sun can push surface temperatures well above ambient. A shaded north wall or an interior conditioned space is usually a better choice.
- Attics, which combine high summer heat with poor ventilation and are almost never an approved location.
What to do: check the unit’s datasheet for its operating temperature range, then compare that against the actual measured conditions of the proposed wall in both January and July. A $30 thermometer logging for a week tells you more than any rule of thumb.
4. Placing the Battery Too Far From the Main Panel or Critical Loads
Every foot of conductor between the battery and the main service panel adds resistance and cost. Runs over roughly 100 feet commonly require upsizing the wire by one or two gauge sizes to keep voltage drop under control, which can add several hundred dollars in copper alone.
There is a second, less obvious cost: if the battery is intended to back up specific circuits during an outage, the backup subpanel needs to be near those circuits. A battery installed in a detached garage that backs up a kitchen and home office 150 feet away in the main house means long, expensive feeder runs and a more complex transfer setup.
If the ideal wall is far from the panel: ask whether a smaller battery closer to the critical loads, or a battery paired with a partial-backup subpanel, makes more sense than one large unit in a distant location.
5. Skipping the Permit, the Labeling, or Both
Battery installations typically require an electrical permit, and in many jurisdictions a separate fire department sign-off. Skipping the permit is the mistake that compounds every other one, because an unpermitted system can void homeowner insurance coverage for a fire claim and create problems when the house is sold.
Even permitted installs frequently miss required labeling:
- A placard on the exterior of the structure indicating that a battery energy storage system is present, its chemistry, and the location of the main disconnect.
- Labels on the battery disconnect itself identifying which circuits remain energized during an outage.
- Rapid shutdown documentation if the system interacts with a solar array.
What to do this week: call your local building department and ask two questions. First, whether they require a separate fire review for residential battery storage. Second, what labeling they expect on the exterior of the home. Getting these answers before the installer orders equipment prevents a failed inspection at the worst possible moment.
Quick Comparison: The Five Mistakes at a Glance
| # | Mistake | Typical Consequence | Recovery Difficulty |
|---|---|---|---|
| 1 | Insufficient clearance | Failed inspection, service access problems | Moderate — relocation likely |
| 2 | Wrong conductor size or missing disconnect | Code violation, nuisance faults, fire risk | Moderate — new wiring run |
| 3 | Out-of-range thermal placement | Reduced capacity, refused charging, faster degradation | High — new location needed |
| 4 | Excessive distance from panel | Voltage drop, higher cost, weak backup coverage | Moderate to high |
| 5 | No permit or missing labels | Insurance and resale risk, failed final inspection | Low if caught early, high later |
What to Do Next
Before signing a battery contract, ask the installer for three specific documents: the unit’s clearance specifications from the manufacturer, a load calculation showing conductor sizing for the proposed run length, and confirmation that a permit will be pulled in your name. Then, this week, measure the temperature of the wall you are considering at two different times of day — morning and late afternoon — and compare those readings against the unit’s operating range. If any of the three documents is missing, or the wall temperature falls outside the rated window, that is your signal to pause and ask questions before work begins. A licensed local installer can confirm what your specific jurisdiction requires, since code adoption varies considerably by state and even by county.
Related guides: Home Battery Storage: Common Mistakes and How to Troubleshoot Them, Home Battery Storage Installation: Step-by-Step Guide for First-Time Buyers, and Solar and Battery Storage for Home Businesses: A Tax and Accounting Guide.
🔗 Recommended Reading
- Solar Panel Monitoring Apps: A Setup Guide for Beginners
- How to Read Your Electricity Bill After Solar: A Line-by-Line Walkthrough
- Solar Incentive Paperwork: Common Filing Mistakes That Delay Your Rebate
- Home Battery Sizing Mistakes That Lead to Blackout Regret
- Common Solar Installer Mistakes Homeowners Should Catch Before Signing