A common misconception is that switching to solar begins with choosing panels and ends with an installer on the roof. In practice, the equipment decision is a mid-stage step, not the starting point — the sequence runs from assessing your home and usage, through quotes and financing, then permitting and interconnection, and only then installation and activation. Getting the order wrong is the single most common reason homeowners overpay or end up with a system sized for the wrong goal. This roadmap lays out the stages in the order that tends to produce the fewest surprises.

The Roadmap in Brief: Seven Stages
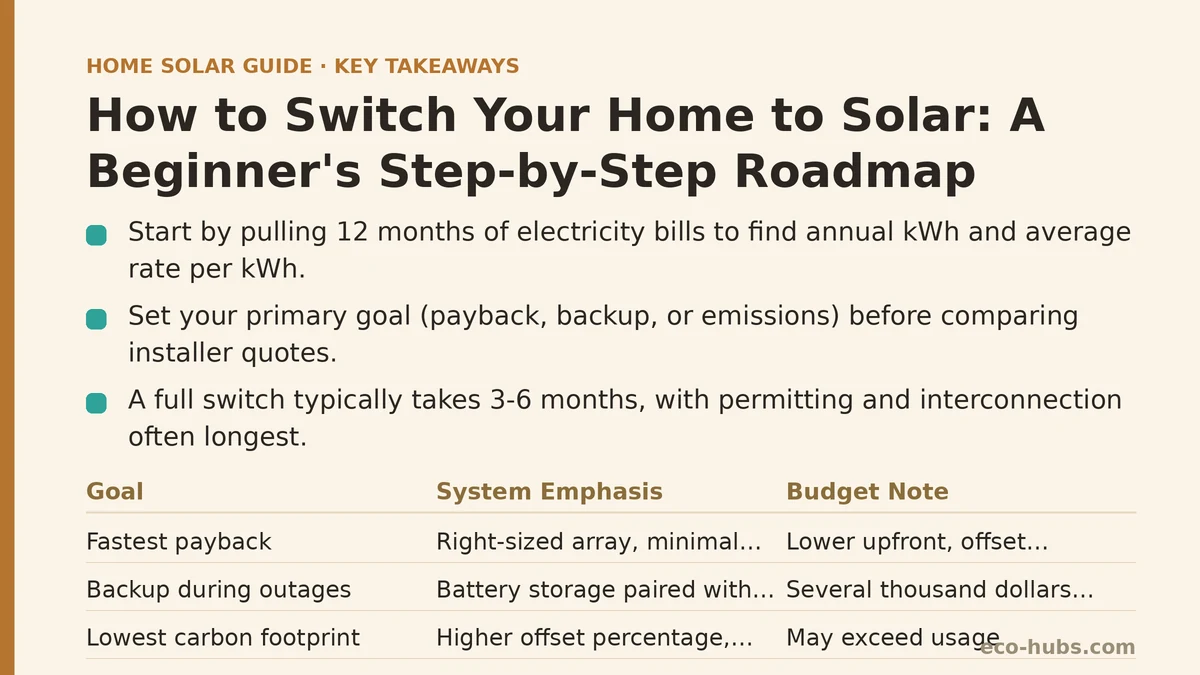
The full switch commonly takes three to six months from first research to an energized system, with permitting and utility interconnection frequently accounting for the longest stretches. Here is the ordered sequence this guide expands on:
- Assess your home and usage — the foundation everything else rests on
- Set your goal and budget — payback speed, backup power, or emissions
- Gather and compare quotes — same equipment, apples-to-apples
- Choose financing — cash, loan, lease, or PPA
- Permitting and utility interconnection — the paperwork stage
- Installation and inspection — the shortest physical phase
- Activation, monitoring, and tax credit — closing the loop
Each stage below covers what to do, typical numbers to expect, and the mistakes that most often appear at that point.
Stage 1: Assess Your Home and Usage
Before contacting anyone, gather the facts that will drive every later decision. Pull twelve months of electricity bills to find your annual kilowatt-hour consumption and your average rate per kWh. Note your roof’s age, orientation, and how much shading it sees across the day — an asphalt roof within roughly five years of replacement is a common flag to address roofing first, since removing and reinstalling panels later adds cost.
Checklist before moving on:
- Twelve months of usage data in kWh
- Your current average rate per kWh (typically $0.12–$0.30 depending on region)
- Roof age and remaining lifespan
- Roof orientation (south-facing is ideal in the northern hemisphere; east/west still workable)
- Major shading sources — trees, chimneys, adjacent buildings
- Any planned changes: EV purchase, heat pump, addition, or move
Common mistake: sizing a system to last year’s usage when an EV or heat pump is planned for next year. If you expect a large new load, tell every installer upfront so the sizing reflects it.
Stage 2: Set Your Goal and Budget
Different goals point to different systems, and clarity here prevents an installer from steering you toward what suits them. A payback-focused homeowner usually wants the smallest system that offsets high-rate usage; a backup-focused homeowner needs battery storage, which changes the budget substantially. Batteries commonly add several thousand dollars to a project and are a separate decision from the panels themselves.
| Primary Goal | System Emphasis | Budget Consideration |
|---|---|---|
| Fastest payback | Right-sized array, minimal extras | Lower upfront, maximize offset of high-rate hours |
| Backup during outages | Battery storage paired with solar | Several thousand dollars added for storage |
| Lowest carbon footprint | Higher offset percentage, possibly larger array | May exceed usage offset with exported power |
| Lowest upfront cash | Lease or power purchase agreement (PPA) | Little or no money down, but you don’t own the system |
Common mistake: setting the budget from the sticker price alone without accounting for the federal solar tax credit, which commonly covers a meaningful share of equipment and installation cost. Confirm the current credit percentage and eligibility rules with a tax professional, since program terms change.
Stage 3: Gather and Compare Quotes
Obtain at least three quotes and insist each one specifies exact panel and inverter models, system size in kilowatts, estimated annual production in kWh, and the full installed price. Comparing on price alone without matching equipment produces a false comparison. Ask each installer how they derived the production estimate and what shading and orientation assumptions they made.
Worth asking each installer directly:
- What exact panel and inverter models, with specification sheets?
- What annual production estimate, and on what assumptions?
- What does the workmanship warranty cover, and for how long?
- What happens to my warranty if your company closes?
- What is the realistic timeline including permitting and interconnection?
A useful sanity check: a system sized to offset most of your usage commonly lands in the range of a few dollars per watt installed, varying widely by region, roof complexity, and equipment tier. Treat any quote far outside the local range as a prompt for more questions, not an automatic red flag.
Common mistake: signing with the first installer who provides a polished proposal. The comparison stage is where most of your leverage exists.
Stage 4: Choose Financing
Four common paths exist, and the right one depends on whether you want ownership, upfront cash tolerance, and how long you plan to stay in the home.
- Cash purchase — lowest total cost and fastest payback, but the largest upfront outlay.
- Solar loan — ownership with spread-out payments; check the true annual percentage rate and any prepayment penalty.
- Lease — a third party owns the system; little or no upfront cost, but you don’t capture the tax credit.
- Power purchase agreement (PPA) — you buy the power at a set rate; again, the system is not yours.
If you plan to move within a few years, a lease or PPA transfers with the home and can complicate a sale, while an owned system may add resale value — confirm how transfer works in your contract. If you want the tax credit, you generally need to own the system, whether bought with cash or a loan.
Stage 5: Permitting and Utility Interconnection
This is the stage that most surprises first-time buyers, and it is largely out of the installer’s hands. Local permitting typically requires a building or electrical permit and an inspection, and the utility requires an interconnection application before the system can legally export power. Timelines vary by jurisdiction and commonly run from several weeks to a few months combined.
Common mistake: assuming the installation date is the finish line. The system can be physically complete and still not legally energized until the utility grants permission to operate. Budget the calendar accordingly and keep a copy of every approval.
Stage 6: Installation and Inspection
The physical install itself is usually the shortest phase — commonly one to three days for a typical residential array, depending on roof complexity and whether storage is included. After installation, a local inspector verifies the work meets code, and the utility may require its own review before activation. Confirm who schedules the inspection and whether any corrections are the installer’s responsibility at no extra charge.
Stage 7: Activation, Monitoring, and the Tax Credit
Once the utility issues permission to operate, the system is switched on. Set up the monitoring app and record a baseline week of production to compare against the estimate. Keep all invoices, contracts, and interconnection paperwork together for tax filing, and confirm with a tax professional how the credit applies to your situation. Note the credit is generally claimed in the tax year the system is placed in service, not the year you signed.
The Full Timeline at a Glance
| Stage | Typical Duration | Main Risk if Rushed |
|---|---|---|
| Assessment and research | 1–3 weeks | Wrong system size |
| Quotes and comparison | 2–4 weeks | Overpaying or mismatched equipment |
| Financing decision | 1–2 weeks | Costly loan terms or lost tax credit |
| Permitting and interconnection | 4–12 weeks | Delays to activation |
| Installation | 1–3 days | Code corrections after inspection |
| Activation and tax credit | Days to weeks | Missing documentation for the credit |
When Solar Is Not the Right Fit
Honesty matters here: solar is not automatically a good decision. It tends to make less sense if your roof is heavily shaded, needs replacement soon, you expect to move within a couple of years, or your electricity rate is unusually low. In those cases, efficiency upgrades or waiting can be the better move. A reputable installer will say so rather than pushing a sale.
What to Do Next
Start today with the smallest step that unlocks everything else: pull twelve months of bills and note your annual kWh usage and average rate. That single number tells you whether solar is worth pursuing and gives every installer you contact a concrete basis for a useful quote. From there, gather three quotes with matched equipment and compare on total cost, warranty terms, and timeline — not headline price alone.
Where are you in this roadmap right now — still assessing, comparing quotes, or already deciding on financing? Share your stage and I can help you think through the next step. Related guides: DIY Solar Installation: Is It Worth Attempting, Questions to Ask a Solar Installer Before Signing Anything, and Solar Panel Installation Process Step by Step: What Happens.
🔗 Recommended Reading
- How to Prepare Your Home for a Solar Site Assessment: A Beginner's Checklist
- How to Size a Solar System for Your Home: A Beginner's Step-by-Step Walkthrough
- Solar Panel Monitoring Apps: A Setup Guide for Beginners
- How to Read Your Electricity Bill After Solar: A Line-by-Line Walkthrough
- Solar Incentive Paperwork: Common Filing Mistakes That Delay Your Rebate