Most homeowners treat their battery as if it were a water tank — something that simply fills with solar power and empties at night. In practice, a lithium-ion home battery behaves more like a sensitive piece of electronics with its own chemistry limits, temperature tolerances, and communication protocols. Confusing those two mental models leads to the most common storage mistakes, and the fix is often not new hardware but a change in how the system is configured or monitored.
Mistake 1: Sizing the Battery for Average Days Instead of Worst-Case Days
Symptom: The battery routinely hits 0% by 9 PM, long before the morning sun arrives. You relied on an average daily usage figure from your utility bill, but your evenings alternate between heavy cooking, EV charging, and laundry loads that push weekend usage 40–60% above your weekday average.
Cause: Batteries are often sold and sized based on the typical day, not the most demanding day you experience. An average day is 30–40% lower than your peak day in most households, which leaves the battery empty right when you need it most.
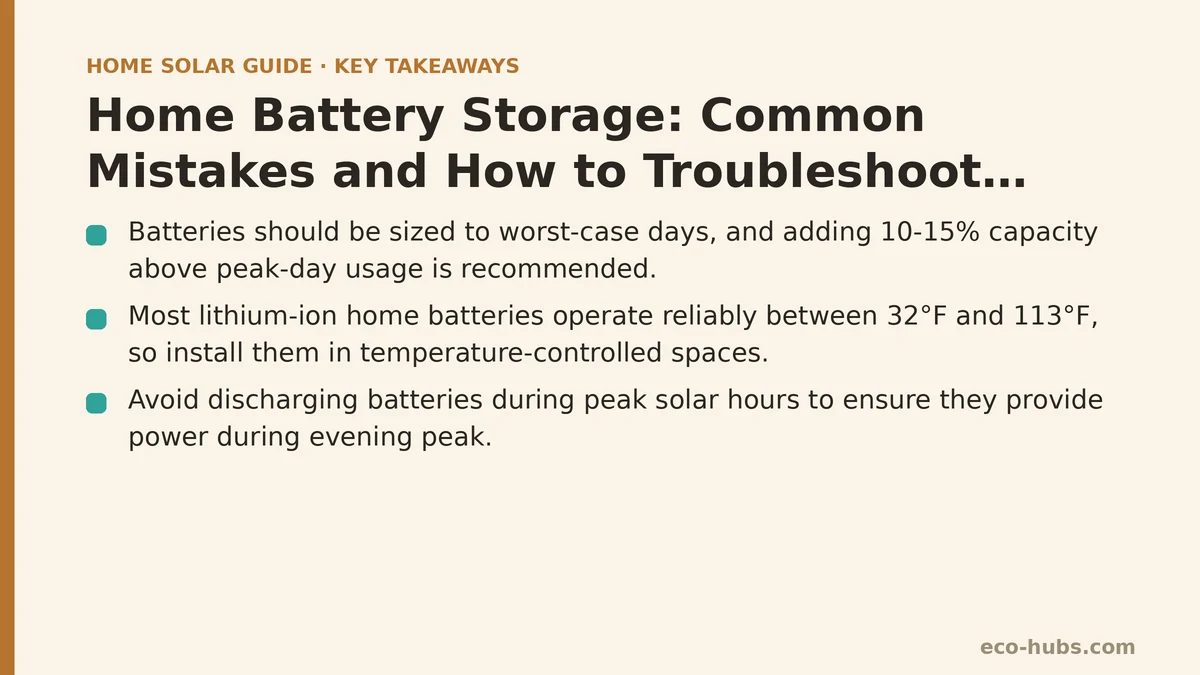
Fix: Add 10–15% capacity above your peak-day usage, not your average-day usage. If your worst day runs 12 kWh before midnight, look for a 13.5–14 kWh usable capacity battery, not a 10 kWh model. Review the last six months of hourly usage data rather than the annual summary, then size to the second-highest day to leave headroom without paying for excess. If your usage is already locked in, adjust the battery’s backup reserve setting to withhold more energy for the evening peak — most systems default to a 10–20% reserve, but raising it to 25–30% bridges that gap in practice.
Mistake 2: Installing the Battery in a Garage That Exceeds Its Operating Range
Symptom: The battery derates its charging or discharging power on hot summer afternoons. You notice the app reporting reduced throughput or a warning that the system is “limiting power due to temperature.”
Cause: Most lithium-ion home batteries operate reliably between 32°F and 113°F, but charging slows down aggressively above 100°F and below freezing. In a typical unconditioned garage, interior temperatures can reach 110–120°F in summer and drop to 40–50°F in winter, depending on your region — both pushing up against the threshold where the battery management system imposes current limits to protect cell chemistry.
Fix: Check the ambient temperature in your installation space over a full season before locking in placement. An attached garage in a moderate climate stays within range most of the year, but a detached or south-facing garage is a consistent problem. Move the battery to an enclosed utility room, basement, or conditioned crawlspace if possible. If relocation isn’t practical, add passive ventilation — a louvered door or continuous low-speed fan can reduce garage temps by 10–15°F in summer. For cold climates, keep the battery indoors entirely; most home batteries are not rated for below-freezing charging and will refuse to charge until the pack warms up.
Mistake 3: Setting the Battery to Discharge During Peak Solar Hours
Symptom: Your battery shows a steady discharge from 10 AM to 3 PM, then hits empty during the evening peak when you expected it to provide backup power. You assumed the battery would hold its charge until the sun went down, but the system has been running the house off the battery since mid-morning.
Cause: Many batteries come with a “self-consumption” default that prioritizes using stored energy the moment it’s available, rather than scheduling discharge for high-tariff evening periods. This happens when the system wasn’t programmed with your specific time-of-use rate structure, or when a manual override was left in a continuous discharge mode.
Fix: Open your battery’s scheduling settings and set a discharge window that matches your actual rate schedule. For most residential solar customers on time-of-use tariffs, the discharge window should run from when peak rates begin (commonly 4–7 PM) until the battery reaches its reserve level. During the day, keep the battery idle so it fills from solar production while the house runs on direct solar power. If your utility has a demand charge, keep the battery in “backup only” mode unless a peak event is forecast — discharging for demand management is a different calculation and rarely suits a standard evening-peak window.
Mistake 4: Ignoring Communication Failures Between Inverter and Battery
Symptom: The system displays “battery offline” or the inverter shows a communication error that clears on its own after restarting. Sometimes the battery charges fine; other times it stops responding entirely for no obvious reason.
Cause: Home batteries and inverters talk over a communication bus — usually a proprietary cable or a standard CAN bus connection. Loose terminations, damaged cables, or interference from nearby power cables cause intermittent dropouts. The system may continue operating independently, but the inverter loses the ability to see battery state of charge or control charging, which often results in overcharging or undercharging that shortens pack life.
Fix: Power down the entire system before touching any communication wiring. Check all connection points at both the battery and inverter ends — the most common failure is a barely-seated connector that dislodged during vibration or temperature cycling. Look for kinks, crimps, or melted insulation along the cable run. Tighten all terminations to the manufacturer’s torque specification, not just until they feel snug. If the cable passes near any AC power lines, reroute it with at least 6 inches of separation. After physically checking all connections, cycle the system: battery breaker off, inverter off, wait 60 seconds, then power inverter on first, followed by the battery breaker. This sequence re-establishes the handshake in most systems.
Mistake 5: Confusing Usable Capacity with Total Installed Capacity
Symptom: You bought a battery marketed as 10 kWh, but the app reports only 9 kWh of usable capacity. You think the battery is failing or the manufacturer shorted you.
Cause: Lithium-ion batteries degrade when fully charged and fully discharged, so manufacturers deliberately cap the usable window. A 10 kWh battery may have 11 kWh of raw cell capacity but only 9 kWh usable, with the rest held back as a buffer to preserve cycle life. This is normal and applies to every major brand in the market — Tesla, Enphase, LG, and Sonnen all report usable capacity differently, with some of the market leaders showing only 85–90% of the installed cell chemistry.
Fix: Pull the spec sheet for your exact model and look for “usable energy capacity” rather than the marketing number. If your usable capacity drops more than 10% from the spec sheet within the first year, that indicates a real problem worth investigating — check the cell balancing by running the battery through a full charge and discharge cycle, then verify the system reports a balanced pack across all cell groups. A differential of more than 5% between the highest and lowest cell voltages during idle suggests a module issue requiring professional service.
Mistake 6: Assuming the Battery Continues Working Normally During a Power Outage
Symptom: The grid goes down in the evening, the house runs briefly on battery power, then everything shuts off. Or the battery runs the house fine for the first hour but refuses to power certain circuits.
Cause: Home batteries that back up the whole house are rated for far more than the continuous power they provide during normal operation. During an outage, the battery must also handle startup surges from motors, compressors, and well pumps that draw 3–6x their running wattage for several seconds. A battery rated for 5 kW continuous may be asked for a 12 kW surge from just a refrigerator and furnace blower starting simultaneously, tripping its internal overcurrent protection or the inverter limiter.
Fix: Before an outage occurs, identify which circuits your battery is designed to back up. Most systems require a critical loads panel that separates essential circuits — lights, refrigerator, router, furnace blower, well pump — from other loads. Test your backup mode annually by throwing the main disconnect while the battery is at 50% SOC or higher, then sequentially turn on each backed-up circuit to verify the system handles the combined surge. If the battery trips during this test, reconfigure the critical loads panel to remove the largest single-starting load, or spread motor-starting loads so they don’t fire simultaneously. Keep in mind that battery-only backup time is typically 8–12 hours for a 13.5 kWh pack running a modest load set, not the multi-day runtimes portrayed in marketing materials — solar input during daylight extends that figure, but only if the inverter can operate in off-grid mode.
Mistake 7: Skipping Firmware Updates and Seasonal Checkups
Symptom: The system runs fine for months but suddenly misbehaves — slow charging, unexpected discharge, or the mobile app going unresponsive for longer than normal refresh cycles.
Cause: Battery management software is updated frequently to remedy cell balancing issues, adjust degradation algorithms, or improve communication reliability. Skipping updates means your battery runs on code that may contain known bugs. The other failure is irregular seasonal changes — battery chemistry behaves differently at 30°F than at 90°F, and systems that aren’t periodically checked often drift out of calibration.
Fix: Enable automatic firmware updates in your battery’s monitoring app. Check once per quarter for pending updates if the system doesn’t auto-apply them. Schedule a seasonal review that follows a short checklist: verify all breakers are fully seated, inspect battery terminals for corrosion or discoloration, log the battery’s state of health and compare it to the previous quarter (a healthy pack loses less than 2–3% capacity per year). Confirm the ventilation opening is clear of dust or stored items. Run a manual capacity test in spring and fall by shutting off solar input and letting the battery carry the house down to its reserve, then record the kWh delivered — this on-the-ground number is worth more than any theoretical spec sheet.
Quick Troubleshooting Decision Table
| Symptom | First Check | Second Check | Fix Time |
|---|---|---|---|
| Battery empty by 9 PM | Discharge schedule settings | Raise reserve % to 25% | 10 minutes |
| Reduced power in summer | Ambient temp at battery location | Ventilation and airflow | 1–2 hours if relocation needed |
| Discharges during solar hours | Time-of-use window programming | Manual override left active | 5 minutes |
| Offline/intermittent comms | Cable seating at both ends | Cable routing near AC lines | 30–60 minutes |
| App shows less than spec capacity | Spec sheet usable capacity figure | Cell balance differential | None if within tolerance |
| Trips during power outage | Critical loads panel load check | Motor startup surge overlap | 1–2 hours to reconfigure |
| Sudden erratic behavior | Firmware version check | State of health log review | 30 minutes |
What to Fix First This Week
Start with the settings you can verify without opening any equipment. Open your monitoring app and confirm three things: the discharge window matches your utility’s peak times, the reserve percentage is set no lower than 20%, and the firmware is current. The physical checks — temperature, cable seating, ventilation — take under an hour and require the same tools as changing a breaker switch.
If your battery is less than two years old and you find one of these issues, work through the symptom table above. If nothing resolves it, contact your installer with the specific symptom, the last time the system worked normally, and everything you’ve already checked — that information cuts diagnostic time measurably and prevents wasted on-site visits that could otherwise be completed by phone alone.
Related guides: Common Home Battery Storage Wiring and Placement Mistakes to Avoid, Home Battery Storage Installation: Step-by-Step Guide for First-Time Buyers, and Solar and Battery Storage for Home Businesses: A Tax and Accounting Guide.
🔗 Recommended Reading
- How to Read Your Electricity Bill After Solar: A Line-by-Line Walkthrough
- Solar Incentive Paperwork: Common Filing Mistakes That Delay Your Rebate
- Home Battery Sizing Mistakes That Lead to Blackout Regret
- Common Solar Installer Mistakes Homeowners Should Catch Before Signing
- Common Home Battery Storage Wiring and Placement Mistakes to Avoid