A solar quote is a formal, itemized proposal from an installation company that specifies equipment models, system size in kilowatts (kW), total installed price, estimated annual production in kilowatt-hours (kWh), and financing terms if applicable. It is not a single price tag, and treating it as one is the most common beginner error. A usable quote allows you to verify each component independently, compare apples to apples across vendors, and model your payback period with confidence.
This guide walks through the step-by-step process from pre-quote preparation through final comparison, following a checklist format. Each section covers what to do, why it matters, and the specific mistake to avoid.
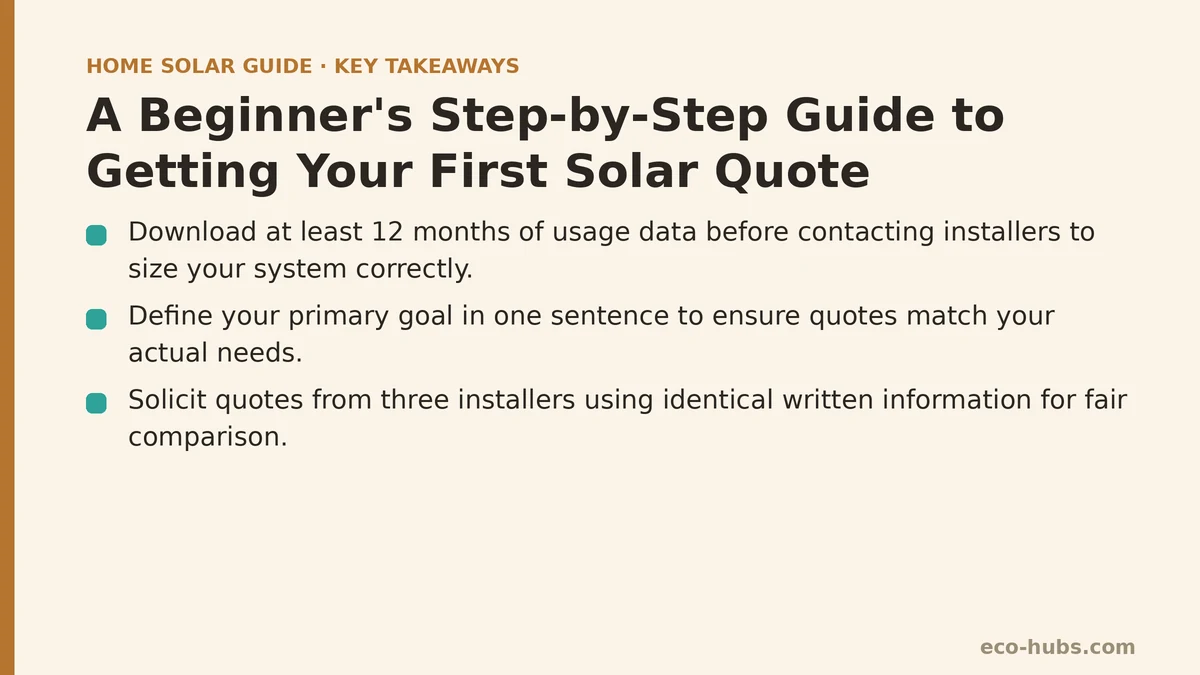
Step 1: Gather Your Electricity Usage Data Before You Contact Anyone
What to do: Log into your utility account and download at least 12 months of usage history, ideally 24 months if available. Record your monthly kWh consumption and note seasonal peaks (summer cooling, winter heating). Calculate your annual total and divide by 365 for a daily average.
Why it matters: Installers size your system based on your consumption profile, not your roof’s theoretical maximum. If you provide only an average monthly figure, they may undersize or oversize. More importantly, you need this data to verify their production estimate later. A system sized to your actual usage with no room for future changes (electric vehicle, heat pump, home addition) will likely be too small.
Common mistake and fix: Sending a screenshot of your current monthly bill only. A single bill hides seasonal variation. If your state has net metering, winter heating loads can dominate. Without the full year, the proposed system could be off by 20-30% of needed capacity. Fix: collect the full month-by-month table before your first call.
Step 2: Define Your Solar Objectives Explicitly
What to do: Before contacting installers, clarify your primary goal in one sentence. Options include: lower monthly bill, lock in a fixed long-term electricity cost, full backup capability during outages (requires battery), or specifically to reduce carbon footprint. Write it down.
Why it matters: A grid-tied solar-only system with no battery delivers roughly 30-70% bill offset depending on your consumption timing, and does not provide outage protection. If backup power is your objective, a solar-only quote is fundamentally insufficient, and you waste time reviewing it. A quote’s value depends on how well it matches your stated objective, not on how low the price is.
Common mistake and fix: Asking for “the best system” without defining “best.” This invites installers to propose a premium package with battery and full offset, which may cost $45,000 when a $18,000 grid-tied system satisfies your cost-reduction goal. Fix: put your objective in writing and share it verbatim in your first email query.
Step 3: Solicit Quotes From Three Installers With Identical Information
What to do: Choose three companies — one national large-scale operator, one regional mid-size, and one local licensed electrician with solar certifications. Send all three the same written brief: your address, roof type and approximate age, your annual kWh total, your stated objective from Step 2, and your preferred timeline (e.g., “aiming to be operational within 90 days”).
Why it matters: Comparison is only valid when the inputs are identical. If you give one installer your 24-month usage chart and another just a rough monthly bill, you cannot fairly compare their proposals. A three-way set renders outliers visible — if one quote is 30% higher than the other two for the same equipment, you know to ask pointed questions.
Common mistake and fix: Getting quotes sequentially, letting each installer influence your description of the project. This introduces variable data. Fix: send the brief in one batch on the same day, or prepare it in advance so you read from the same page across all three calls.
Step 4: The Five-Minute Quote Anatomy Check
What to do: When each quote arrives, verify these five elements are present before evaluating anything else:
- Exact panel model and wattage (e.g., REC Alpha Pure-RX 470W), not “premium panels”
- Exact inverter model (microinverter, string inverter, or power optimizer, with brand and part number)
- Number of panels and total system size in kW (panel wattage × panel count)
- Estimated annual production in kWh, with a stated assumption for roof orientation, tilt, and shade
- Itemized price separating equipment, labor, permitting, and (if applicable) battery, rather than a single lump-sum
Why it matters: Without these basics, you cannot verify the quote or compare it meaningfully. A quote missing any of these is incomplete by definition.
Common mistake and fix: Being charmed by a low total price without checking the equipment grade. A $2.30/W quote with 370W budget panels and a string inverter designed for a different climate zone is not comparable to a $2.90/W quote with 470W premium modules and microinverters. Fix: apply this checklist as a filter. Incomplete quotes go back to the installer with a one-line request: “Please resend with exact model numbers and itemized pricing.”
Step 5: Diagnose Red Flags With the Symptom → Cause → Fix Method
Not every quote issue is obvious, and some are easy to miss. The table below maps the most common red flags to their underlying cause and the correction you should request.
| Symptom | Likely Cause | Fix / Next Step |
|---|---|---|
| Production estimate is dramatically higher than similar installs in your area (e.g., 10% above PVWatts estimate) | Installer inflated production to make payback look shorter, using overly optimistic shade loss or panel degradation assumptions | Ask them to run a PVWatts model with your address and share the output file. Compare against your own PVWatts run, which takes 10 minutes and is free |
| Quote lists “system monitoring” as a paid add-on separate from equipment | Monitoring is standard on nearly all modern inverters; framing it as an extra inflates the price | Ask what hardware provides monitoring, and whether it is included in the inverter cost. If they confirm the inverter includes it, request removal of the line item |
| Warranty language says “up to 25 years” without specifying the component | “Up to” language masks a shorter effective term, or covers only the panel, not the inverter or workmanship | Request the exact warranty documents for panel, inverter, and installation workmanship. Write down coverage start date, term, and what triggers a claim |
| Loan rate and fees are not disclosed until after you approve the equipment list | Deferred interest or dealer fees are being added to the equipment price to make the rate look attractive | Ask for the APR, total dealer fee (often 15-25% of equipment cost), and any prepayment penalty before you approve the system design |
| Quote includes a roof condition disclaimer claiming no responsibility for pre-existing leaks | This transfers risk to you for an issue that a thorough roof inspection should have flagged before installation | Request a pre-installation roof assessment in writing, or budget a separate roof inspection from an independent contractor before signing |
| Timeline says “installation within 4 weeks” with no mention of utility interconnection | Physical installation is the short part; interconnection can take 2-8+ months depending on your utility | Ask for a written timeline with three milestones: permit approval, physical install, and utility PTO (permission to operate). Somewhere in your state’s documents, PTO is a utility-controlled date |
Step 6: Verify Production Estimates Yourself in 15 Minutes
What to do: Go to PVWatts (pvwatts.nrel.gov), enter your address, set system size to match the quote, and choose the panel tilt/azimuth as stated in the quote. Leave the default system loss value at 14.08%. Note the kWh/year output. Compare this to each installer’s claim.
Why it matters: PVWatts is the industry baseline. A quote that matches PVWatts within 5-10% is trustworthy. A quote that sits 20% above PVWatts is not reflecting real local conditions, and your payback calculation will be wrong proportionally.
Common mistake and fix: Skipping this step, or comparing only the price per watt across quotes. Fix: run PVWatts for every quote, and if an installer claims above the PVWatts model, ask them to justify the difference with site-specific shading data from their own measurement tools.
Step 7: Request a Firm, Written Timeline With Penalties or Contingencies
What to do: Ask each installer to state, in writing in the quote, three dates: permit submission date after contract signing, physical installation start date, and expected utility PTO date. Ask whether delays in any milestone trigger any costs for you.
Why it matters: The physical install takes 1-3 days typically. The total process from signing to PTO commonly spans 6-16 weeks. Installers who quote only the install window hide this administrative tail, and if you are financing, interest may accrue during that period even though the system is not generating yet.
Common mistake and fix: Accepting a verbal “should be done by end of summer.” Fix: require the three dates in the quote document itself, and ask what happens if utility interconnection drags past month four — some utilities have performance-based incentives for timely PTO, and a good installer will select your project for those programs.
Step 8: Compare the Three Offers on a Single Spreadsheet
What to do: For each quote, list: total price, price per watt (total ÷ system kW), panel model and wattage, inverter type, estimated annual kWh from the quote, your PVWatts estimate, warranty durations for each component, workmanship warranty term, and the stated PTO timeline. Then check for consistency.
Why it matters: Seeing all metrics side by side reveals the story. Price per watt is a blunt instrument, but a 30-cent difference per watt across three quotes is meaningful. The combination of equipment grade and warranty terms tells you whether a higher price buys reliable hardware or just a larger margin.
Common mistake and fix: Choosing based on the lowest price per watt alone. A $2.10/W quote with an unknown panel brand and 10-year workmanship warranty is not cheaper than a $2.45/W quote with Tier-1 panels and 25-year warranty when you account for replacement risk after year 10. Fix: weight your spreadsheet columns — equipment quality and warranty duration matter as much as the number.
What to Do Next: Two Actions to Take Today
Action 1: Run the PVWatts estimate for your address right now, before calling anyone. This gives you a baseline to compare every future quote against, and you will not be dependent on an installer’s production claim.
Action 2: Prepare your one-page brief — first row: your annual kWh total. Second row: your objective statement in one sentence. Third row: roof type and approximate age. Fourth row: your timeline. Save it as a PDF and attach it to the first outreach you send to each of the three installers you select tomorrow morning.
Which of the seven steps feels most uncertain for your situation — the PVWatts comparison, the warranty language, or the utility interconnection timing? Write it down now, and bring that specific question to each installer when you request the three quotes.
Related guides: Home Battery Storage Installation: Step-by-Step Guide for First-Time Buyers, Is Your Roof Actually Good for Solar? A Practical Assessment Guide, and A Financial Advisor’s Guide to Calculating Client Solar ROI Scenarios.
🔗 Recommended Reading
- Solar Incentive Paperwork: Common Filing Mistakes That Delay Your Rebate
- Home Battery Sizing Mistakes That Lead to Blackout Regret
- Common Solar Installer Mistakes Homeowners Should Catch Before Signing
- Common Home Battery Storage Wiring and Placement Mistakes to Avoid
- Solar Payback Period vs Cash-on-Cash Return: Which Metric Should Homeowners Use