After working through this guide, you’ll be able to walk your own property and form a reasonably accurate picture of whether your roof is a strong candidate for solar, a workable one with some tradeoffs, or a poor fit that needs a different approach entirely. That assessment comes down to five factors — orientation, shading, structural condition, age, and available space — and each one carries different weight depending on your specific situation. None of this replaces a professional site evaluation, but knowing what an installer is checking for lets you ask sharper questions and spot red flags before you’re locked into a contract.
Step 1: Determine Your Roof’s Orientation
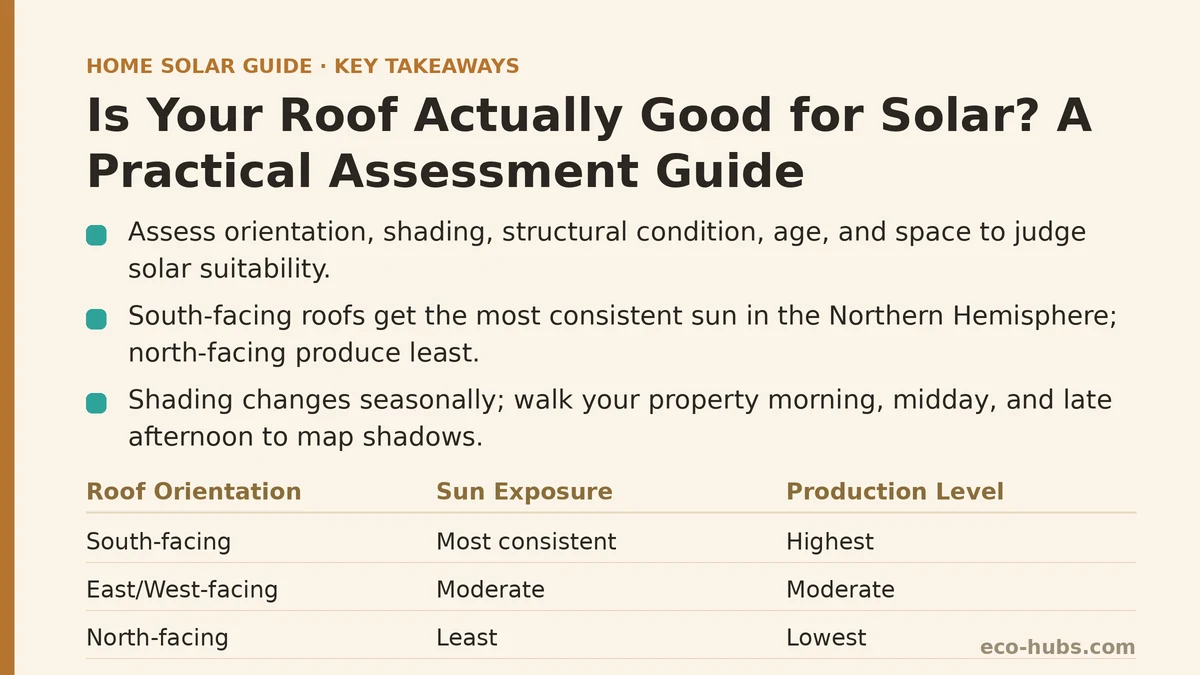
Orientation affects how much sunlight your panels receive over the course of a day, and it’s the first thing any installer will note when they look at satellite imagery of your home. In the Northern Hemisphere, south-facing roof sections generally receive the most consistent sun exposure across the year, followed by east and west-facing sections, with north-facing roofs typically producing the least.
This doesn’t mean a north-facing section is unusable — production losses from orientation alone are often smaller than homeowners expect, particularly for roofs with a shallow pitch. But if your roof is split across multiple facets, identifying which sections face which direction tells you where panels will perform best and where they might need to be skipped or supplemented with a ground-mount system instead.
A simple way to check this without special tools: use a smartphone compass app while standing on the ground facing each roof section directly, or look up satellite images of your home and orient them to true north. Either method gives you a rough answer in a few minutes.
Step 2: Map Out Shading Throughout the Day
Shading is one of the most underestimated factors in roof suitability, partly because it changes with the seasons. A roof section that looks clear in July might sit under a shadow for several hours in December once nearby trees lose their canopy shape relative to the sun’s lower winter angle, or once a neighboring structure casts a longer shadow.
Walk your property at a few different times of day — morning, midday, and late afternoon — and note where shadows fall on your roof from trees, chimneys, vent stacks, or adjacent buildings. Even partial shading on a portion of an array can reduce output more than the shaded area alone would suggest, since some panel and inverter configurations lose efficiency across an entire string when even one panel is shaded.
If you have large trees near your roofline, factor in whether trimming or removal is realistic and whether that cost should be part of your overall solar budget conversation.
Step 3: Assess Structural Condition and Roof Material
Before anything goes on your roof, it needs to be structurally sound enough to support the added weight and to remain watertight for the lifespan of the system. Look for visible signs of wear: curling or missing shingles, soft spots when walked on, water stains on interior ceilings, or sagging along the roofline. Any of these suggest a roof that may need repair or replacement before installation rather than after.
Roof material matters too. Asphalt shingles are the most common and generally the most straightforward to mount panels on. Tile, metal, and flat roofs each require different mounting hardware and, in some cases, specialized installation crews — which can affect both cost and the pool of installers willing to take on the job. If you’re unsure what material you have or its current condition, this is a reasonable point to bring in a roofing contractor for a quick inspection, separate from the solar installer’s own assessment.
Step 4: Check Your Roof’s Age Against Its Expected Lifespan
Solar panels are typically warrantied for 25 years and can often keep producing usefully beyond that. If your roof is already a decade or more into a 20-year asphalt shingle lifespan, installing panels now means facing a difficult and expensive removal-and-reinstallation process partway through the system’s useful life, once the roof underneath eventually needs replacing.
A rough guideline: if your roof has less than 10-15 years of expected life remaining, it’s worth seriously considering a roof replacement before or alongside the solar installation, even though this adds upfront cost. Doing both at once is almost always cheaper than removing and remounting an existing solar array later, since panel removal and reinstallation labor is a real and often underestimated expense.
Step 5: Measure Usable Roof Space and Compare to Your Energy Needs
Once orientation, shading, and structural condition are accounted for, what’s left is your usable roof space — the area that’s well-oriented, unshaded, and structurally sound enough to hold panels. Compare this to the system size you’d actually need to offset your electricity usage, which is typically calculated from your last 12 months of utility bills.
If usable space falls short of what your energy needs would require, you have a few options: prioritize the best-performing sections and accept a smaller offset percentage, look into a ground-mount or carport-mount supplement, or focus on efficiency improvements first to reduce the total system size needed. None of these are failures — they’re just adjustments based on what your specific roof can realistically support.
Step 6: Weigh the Combined Picture, Not Just One Factor Alone
It’s tempting to disqualify a roof based on a single issue — a bit of afternoon shading, for instance, or a roof that’s not perfectly south-facing. In practice, these factors interact, and a roof with good orientation and minimal shading can often absorb a structural or age-related issue by addressing it directly, while a roof with severe shading problems may not be worth pursuing even if everything else checks out.
Rather than looking for a single disqualifying factor, run through all five steps and get a sense of where your roof lands on a spectrum from strong candidate to poor fit. Most homes fall somewhere in the middle, with one or two areas that need attention rather than a uniformly excellent or uniformly poor result.
Self-Assessment Summary
| Factor | What to Check | Strong Sign | Warning Sign |
|---|---|---|---|
| Orientation | Compass direction of roof sections | South-facing primary sections | Predominantly north-facing |
| Shading | Shadow patterns across seasons | Minimal shading year-round | Heavy shading for several hours daily |
| Structure/Material | Visible wear, mounting compatibility | Sound structure, common material | Visible damage, unusual material |
| Age | Years remaining vs. typical lifespan | 15+ years remaining | Under 10-15 years remaining |
| Usable space | Square footage after exclusions | Meets or exceeds energy needs | Falls well short of needs |
Walking through these five steps won’t give you the precision of a professional site survey, but it should tell you whether you’re likely looking at a straightforward installation, one with a few things to address first, or a situation where a different approach makes more sense. What does your own roof look like against these categories — is there one factor in particular that seems like the biggest question mark? Share what you’re seeing and it’s easier to point you toward the next specific thing worth checking. Related guides: A Beginner’s Step-by-Step Guide to Getting Your First Solar Quote, Does Solar Actually Increase Your Home’s Value? What the Evidence Shows, and How to Actually Calculate Your Solar Panel Payback Period.
🔗 Recommended Reading
- Solar Panel Monitoring Apps: A Setup Guide for Beginners
- How to Read Your Electricity Bill After Solar: A Line-by-Line Walkthrough
- Solar Incentive Paperwork: Common Filing Mistakes That Delay Your Rebate
- Home Battery Sizing Mistakes That Lead to Blackout Regret
- Common Solar Installer Mistakes Homeowners Should Catch Before Signing