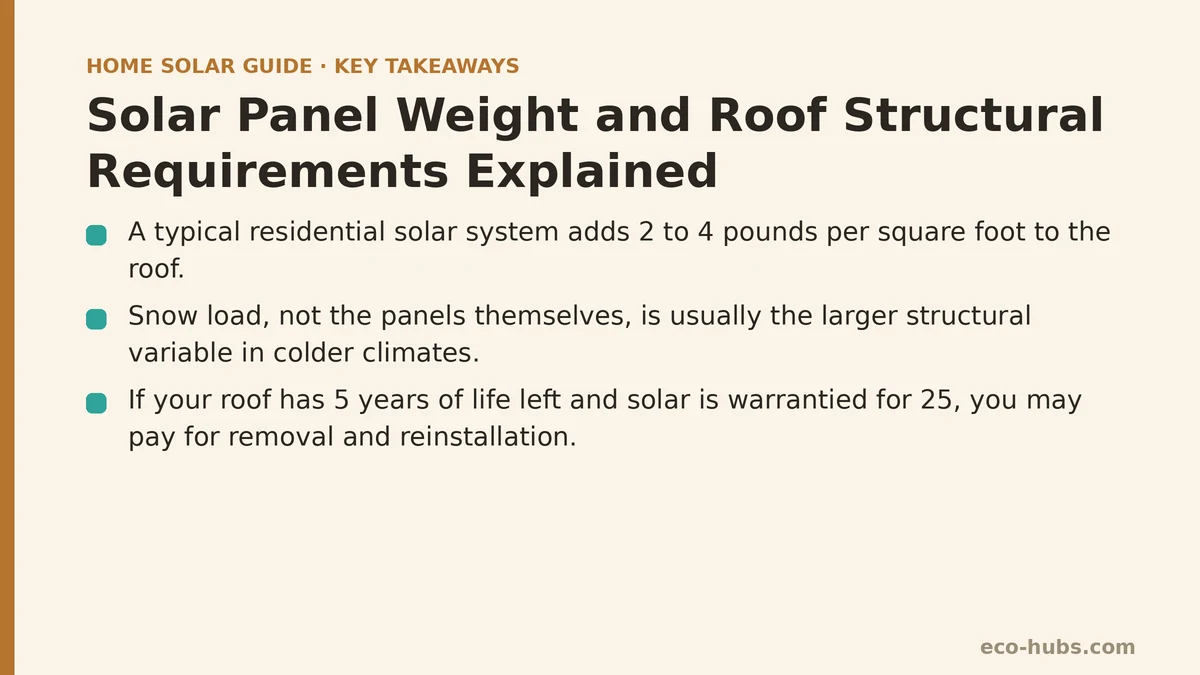
Many homeowners assume that a solar array adds so much weight to a roof that older homes automatically need reinforcement before installation can even be considered. That assumption is largely backwards. A typical residential solar system adds somewhere between 2 and 4 pounds per square foot to the roof, which is well within the load-bearing capacity most homes were built to handle in the first place. The real structural question isn’t usually whether the roof can hold the panels — it’s whether the roof’s current condition, framing spacing, and mounting points can distribute that added load correctly over the next 25 to 30 years.
Step 1: Understand What “Weight” Actually Means in This Context
A standard 60-cell residential solar panel weighs roughly 40 pounds, and a typical racking and mounting system adds a modest amount more per panel. Spread across the panel’s surface area, this works out to a load that’s comparable to, or in some cases lighter than, a second layer of asphalt shingles installed over an existing roof. Snow load, not the panels themselves, is usually the larger structural variable in colder climates, since accumulated snow on top of an array can temporarily add far more weight than the hardware alone.
This distinction matters because it reframes the question. Instead of asking “can my roof hold solar panels,” the more useful question is “can my roof’s specific structural elements handle this additional distributed load combined with regional snow and wind conditions.”
Step 2: Get a Structural Assessment Before Assuming Anything
Most reputable installers will not proceed to design a system without first conducting some form of structural review, whether that’s a visual inspection, a review of your home’s original architectural or engineering plans, or in some cases a formal engineering evaluation performed by a licensed structural engineer. This step is worth insisting on rather than skipping, since it’s the single most direct way to confirm rafter spacing, rafter size, and overall roof condition before any hardware goes on the roof.
Homes built before certain modern building codes were adopted sometimes have wider rafter spacing or smaller rafter dimensions than current standards call for. This doesn’t automatically disqualify a roof from solar, but it does change how many mounting points are needed and how the racking system gets attached to spread the load appropriately.
Step 3: Factor In Roof Age and Remaining Lifespan
A structurally sound roof today isn’t necessarily a roof that will remain sound for the full 25-year warranty period typical of most solar equipment. If your roofing material has 5 years of expected life left and your solar system is warrantied for 25, you’re looking at removing and reinstalling the array at some point to accommodate a roof replacement — an added cost that’s easy to overlook during initial planning.
Worth confirming before installation: the age of your current roof, its expected remaining lifespan based on material type, and whether it makes more financial sense to replace the roof now, before panels go on, rather than paying separately for removal and reinstallation labor a few years into the system’s life.
Step 4: Consider Mounting Type and How Load Gets Distributed
Not all mounting systems attach to a roof the same way, and this affects how structural load gets distributed across the framing beneath. Penetrating mounts, which use lag bolts driven into rafters through the roofing material, are the most common approach and rely on hitting solid rafter material at each attachment point. Non-penetrating ballasted systems, more common on flat commercial-style roofs, use weighted bases instead of rafter attachment, which shifts the structural consideration toward whether the roof deck itself can bear that concentrated ballast weight.
For most residential sloped roofs, penetrating mounts are standard, which is precisely why confirming rafter locations and spacing in Step 2 carries so much weight in the overall assessment — pun aside, it’s the detail that determines how many attachment points a given roof section can safely support.
Step 5: Account for Regional Wind and Snow Load Requirements
Local building codes typically specify minimum wind and snow load requirements that any added rooftop structure, including a solar array, must meet. An installer working in a coastal area with high wind-uplift requirements will typically use different attachment hardware and spacing than one working in a low-wind, low-snow region. This is one of the more overlooked pieces of the structural puzzle, since two homes with visually identical roofs in different regions may require meaningfully different mounting specifications to pass local inspection.
Permitting offices generally require documentation showing that the proposed mounting plan meets these regional load requirements, so this isn’t something that can be skipped without risking a failed inspection later.
Step 6: Review the Engineering Documentation Before Signing
Before signing a contract, ask to see the structural or engineering documentation your installer intends to submit with the permit application. This document should specify the mounting hardware, attachment spacing, and any load calculations used to confirm your roof can handle the proposed system under local code requirements. Reviewing this yourself, or asking a third-party structural engineer to review it for a modest fee, provides an added layer of confidence beyond simply trusting the installer’s internal assessment.
Common Roof Types and Their General Structural Considerations
| Roof Type | General Structural Note |
|---|---|
| Asphalt shingle, standard framing | Typically straightforward; verify rafter spacing and condition |
| Older homes with wider rafter spacing | May need additional mounting points or hardware adjustments |
| Tile roofs | Require specialized flashing and mounts to avoid cracking tiles |
| Flat roofs | Often use ballasted, non-penetrating systems instead |
| Roofs nearing end of material lifespan | Consider replacement before installation to avoid double labor costs |
Where This Leaves You as a Homeowner
The panels themselves are rarely the structural obstacle homeowners expect them to be. What matters is whether your roof’s framing, age, and regional code requirements have been properly assessed and documented before installation begins, rather than assumed based on general reputation of solar being “too heavy” for older homes. A thorough structural review at the outset protects both the integrity of your roof and the long-term reliability of the system sitting on top of it.
Do you know the age and material type of your current roof, and has a structural assessment been part of the quotes you’ve received so far? Sharing those details can help clarify whether your roof is ready as-is or whether a conversation about timing with a roof replacement makes sense first. Related guides: Bifacial Solar Panels Explained: Are They Worth the Extra Cost, Common Solar Panel Problems: A Myth vs. Reality Troubleshooting Guide, and Community Solar Programs Explained: 5 Program Types Ranked by How Much They Actually Deliver.
🔗 Recommended Reading
- Common Solar Installer Mistakes Homeowners Should Catch Before Signing
- Common Home Battery Storage Wiring and Placement Mistakes to Avoid
- Solar Payback Period vs Cash-on-Cash Return: Which Metric Should Homeowners Use
- Net Metering Credit Rollover Rules: What Happens at Year End
- Mistakes Homeowners Make When Sizing a Home Battery Bank