By the end of this post, you’ll be able to picture every stage of a residential solar installation in order, know roughly how long each stage tends to take, and recognize which parts of the timeline are within your installer’s control versus which depend on outside parties like your utility or local permitting office. That distinction matters more than most homeowners expect, since delays in this process rarely come from the physical work of mounting panels.
Below are the questions homeowners most commonly ask, organized in the order the process typically unfolds.
What happens between signing the contract and the crew showing up?
Signing is the start of the paperwork phase, not the construction phase. Your installer typically begins with a detailed site assessment if one wasn’t already completed during the sales process, confirming roof condition, electrical panel capacity, and shading patterns using satellite imagery or an on-site visit. From there, they prepare engineering drawings specific to your roof and system design, which get submitted to your local building department for a permit.
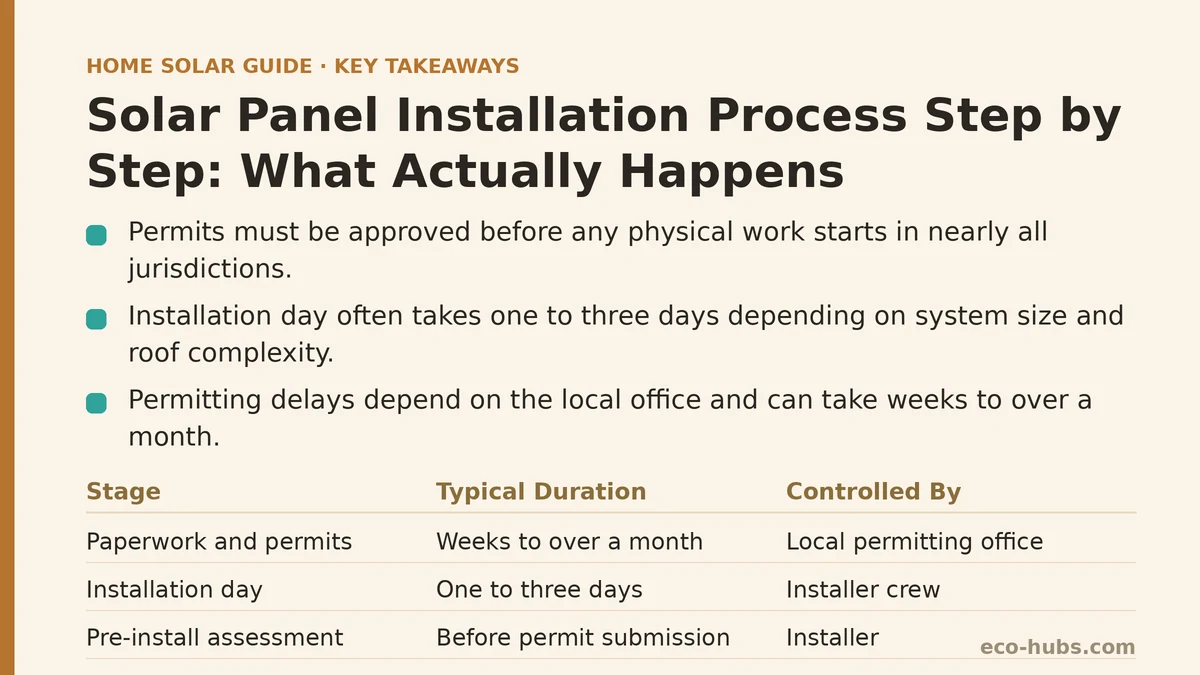
This stage can take anywhere from a couple of weeks to over a month depending on your jurisdiction’s permitting backlog. Nothing about this delay reflects poorly on your installer; it reflects how busy the local permitting office happens to be. Homeowners who expect installation to begin within days of signing are often the most frustrated by this stage, simply because the timeline isn’t communicated clearly upfront.
Does the permit need to be approved before any physical work starts?
Yes, in nearly all jurisdictions. Installing panels without an approved permit can create real problems later, including complications with your final inspection, your utility interconnection application, and potentially your ability to claim the tax credit covered in our dedicated guide. Reputable installers won’t schedule the physical install until the permit clears, even if that means your project sits in a queue for several weeks longer than you’d like.
If your installer suggests starting work before permit approval, treat that as a warning sign worth raising directly rather than a convenient shortcut.
What does installation day itself actually involve?
This is usually the fastest part of the entire process, often completed in one to three days depending on system size and roof complexity. A typical sequence looks like this:
- Racking installation — mounting brackets are attached to the roof, anchored into the rafters rather than just the roof decking, to support the panel array’s weight and withstand wind loads.
- Electrical wiring — conduit and wiring are run from the roof down to where the inverter and other electrical equipment will be installed.
- Panel mounting — panels are attached to the racking and wired together into strings.
- Inverter and equipment installation — the inverter (string inverter or microinverters, depending on your system design), along with any monitoring equipment, is installed near your main electrical panel.
- Electrical panel connection — the solar system is tied into your home’s existing electrical panel, sometimes requiring a panel upgrade if your existing panel doesn’t have sufficient capacity.
A crew of two to four installers typically handles a residential system of this size, with a licensed electrician involved for the wiring and panel connection specifically.
Is the system usable immediately once panels are mounted and wired?
No, and this is one of the more common points of confusion. Once physical installation wraps up, the system still needs a local inspection to confirm the work meets code, followed by utility approval to connect to the grid — the interconnection process referenced in our net metering guide. Only after both of those steps clear does your utility grant permission to operate, sometimes called PTO, which is the point your system is legally allowed to actually generate and export power.
Between the final wiring connection and PTO, your system may sit physically complete but switched off. That gap can last anywhere from a few days to several weeks depending on your utility’s processing timeline, and it’s worth asking your installer directly what their typical experience with your specific utility has been.
What does the local inspection check for?
A building or electrical inspector reviews the completed installation against your jurisdiction’s code requirements and the approved permit plans. This typically covers things like proper grounding, correct wire sizing, appropriate labeling of electrical equipment, and whether the racking meets structural requirements for your roof type and local wind or snow load standards. If the inspector flags an issue, your installer corrects it and schedules a re-inspection, which adds time but is a normal part of the process rather than a sign something went badly wrong.
Why does utility interconnection take as long as it sometimes does?
Your utility needs to confirm that your system won’t create problems for the broader grid, particularly if enough homes on your local transformer are adding solar simultaneously. Some utilities process this quickly; others have a backlog that can stretch the interconnection step out considerably longer than the installation itself took. This is one of the steps a professional installer manages routinely as part of their existing relationship with the utility — one of the reasons this stage tends to move faster with an experienced installer than it would if you were navigating it without that established relationship, a distinction covered in more depth in our DIY solar guide.
What happens on the day the system is finally turned on?
Once permission to operate comes through, your installer or their technician typically returns briefly to activate the system and confirm everything is functioning correctly, including checking the monitoring app or portal that tracks your system’s production. This is a good moment to ask them to walk you through how to read your production data and what numbers would indicate a problem worth calling them about later.
How long does the entire process take from contract to activation?
| Stage | Typical Timeframe |
|---|---|
| Site assessment and design | 1–2 weeks |
| Permit submission and approval | 2–6 weeks, jurisdiction-dependent |
| Physical installation | 1–3 days |
| Local inspection | 1–2 weeks, including any re-inspection |
| Utility interconnection approval | 1–8 weeks, utility-dependent |
| System activation (PTO) | Same day once approval is granted |
Added together, most homeowners should expect somewhere between six weeks and four months from signing to a fully activated system, with permitting and interconnection accounting for the bulk of that span rather than the physical installation itself.
What should I ask my installer to understand my specific timeline?
Rather than accepting a general estimate, ask your installer directly how long permitting typically takes in your specific city or county, and how long interconnection approval has taken with your specific utility on their recent projects. Installers with substantial local experience usually have a fairly precise answer to both questions, since they’ve been through this exact process repeatedly with the same local offices and the same utility.
Where are you in this process right now — waiting on a permit, scheduled for installation, or still deciding on an installer? Let us know, and we can help you think through what to expect next.
Related guides: Solar Panel Installation Mistakes Homeowners Regret, Common Solar Installation Mistakes and How to Avoid Them, and Home Battery Storage Installation: Step-by-Step Guide for First-Time Buyers.
🔗 Recommended Reading
- How to Prepare Your Home for a Solar Site Assessment: A Beginner's Checklist
- How to Size a Solar System for Your Home: A Beginner's Step-by-Step Walkthrough
- Solar Panel Monitoring Apps: A Setup Guide for Beginners
- How to Read Your Electricity Bill After Solar: A Line-by-Line Walkthrough
- Solar Incentive Paperwork: Common Filing Mistakes That Delay Your Rebate