Many homeowners assume that monocrystalline panels are simply the “better” choice and that the decision stops there. That’s not quite right. Monocrystalline panels are typically more efficient per square foot, but efficiency alone doesn’t determine whether they’re the correct fit for a given roof. A smaller roof with unlimited space might do just as well with polycrystalline panels, and certain unconventional or partially shaded roofs may actually favor thin-film despite its lower efficiency rating. The right panel type depends less on which technology sounds most advanced and more on how well its specific characteristics line up with your roof’s space, shading, temperature exposure, and structural limits.
This guide walks through that matching process step by step, rather than presenting a single ranked list of “best” panels.
Step 1: Understand What Actually Separates the Three Technologies
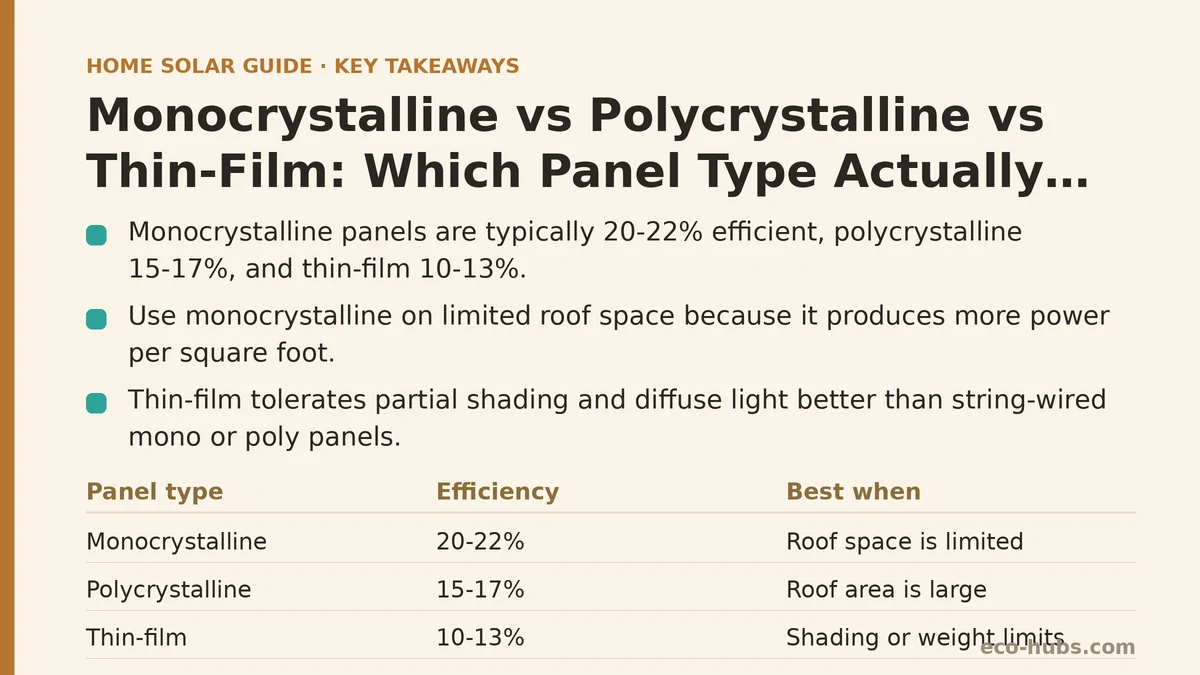
Before comparing anything against your roof, it helps to know what distinguishes these three panel types at a basic level. Monocrystalline panels are made from single-crystal silicon, which allows electrons to move more freely and generally produces the highest efficiency ratings, often in the 20-22% range for residential products. Polycrystalline panels use multiple silicon crystal fragments melted together, which is less costly to manufacture but results in slightly lower efficiency, typically in the 15-17% range. Thin-film panels are built from a different material entirely — commonly cadmium telluride or amorphous silicon — layered onto a flexible or lightweight substrate, and their efficiency usually falls between 10-13%.
Efficiency isn’t the only variable that matters here, but it’s the starting point for everything else in this guide, since it directly affects how much roof space each technology needs to produce a given amount of electricity.
Step 2: Measure Your Available Roof Space Honestly
Roof space is often the single deciding factor, and it’s worth measuring before anything else. Because monocrystalline panels produce more power per square foot, they make sense on roofs with limited usable area — smaller homes, roofs interrupted by dormers or chimneys, or roofs where only one section faces a favorable direction. Polycrystalline panels need more surface area to reach the same output, so they tend to fit better on larger, uninterrupted roof planes where space isn’t the limiting factor. Thin-film panels require considerably more area still, which usually rules them out for typical residential roofs unless the space available is unusually generous or the roof structure can’t support anything heavier.
If your roof offers less than roughly 400 square feet of usable, well-oriented space, monocrystalline is generally the only technology that can realistically meet common household energy needs within that footprint.
Step 3: Map Out Shading Patterns Across the Day
Shading changes the calculation considerably, and this step is frequently skipped. Monocrystalline and polycrystalline panels are wired in strings, and when one cell in that string is shaded, it can reduce output across the entire string rather than just the shaded portion — a limitation that microinverters or power optimizers can partially address, but not eliminate. Thin-film panels tend to tolerate partial shading and diffuse light more gracefully because of how their cells are structured, which is one of the few areas where lower overall efficiency doesn’t translate into a practical disadvantage.
If your roof has persistent partial shading from trees, neighboring structures, or roof features that can’t be trimmed or altered, this is one of the few scenarios where thin-film’s shading tolerance may outweigh its lower output per square foot — particularly on a secondary roof section that wouldn’t perform well with crystalline panels anyway.
Step 4: Factor In Your Climate and Roof Temperature
Panel performance drops as temperature rises, a factor called the temperature coefficient, and the three technologies handle this differently. Monocrystalline panels generally have the best (lowest) temperature coefficients, meaning they lose less output as roof temperatures climb. Polycrystalline panels have a slightly worse coefficient, translating to marginally more performance loss in extreme heat. Thin-film panels, particularly amorphous silicon variants, often perform comparatively better in high heat than either crystalline option, which is part of why they show up more often in installations across very hot climates despite their lower baseline efficiency.
If your roof regularly reaches high surface temperatures — a dark asphalt shingle roof in a hot, sunny climate is the clearest example — this step deserves real weight rather than being treated as a minor footnote to the efficiency comparison from Step 1.
Step 5: Check Your Roof’s Structural Load Capacity
Weight matters more than most homeowners expect going in. Monocrystalline and polycrystalline panels are similar in weight, generally in the 40-50 pound range per panel including the frame. Thin-film panels are considerably lighter, and flexible thin-film variants can weigh a fraction of that, which makes them a relevant option for roofs with genuine load restrictions — older structures, certain metal roofing systems, or roofs where a structural engineer has flagged limits on additional weight.
If your roof hasn’t had a load-bearing assessment and you suspect it may be older or already carrying other equipment, it’s worth having that assessment done before committing to crystalline panels, since retrofitting for weight capacity afterward is far more disruptive than accounting for it upfront.
Step 6: Weigh Appearance Against the Other Factors
Aesthetics rarely decide the outcome on their own, but they do factor into many homeowners’ final decision once the technical requirements are satisfied. Monocrystalline panels typically have a uniform black appearance that many buyers consider the most visually discreet option. Polycrystalline panels have a more visible blue, speckled appearance from the multiple silicon fragments used in manufacturing. Thin-film panels can appear more uniform still, and flexible variants can be mounted in ways that sit closer to the roofline.
If two technologies are otherwise equally suitable for your roof based on Steps 1 through 5, appearance is a reasonable tiebreaker — but it shouldn’t override a genuine mismatch in space, shading, or structural capacity just to achieve a particular look.
Step 7: Compare Cost and Payback Expectations for Each Fit
Once you’ve narrowed down which technology or technologies suit your roof, cost becomes the final filter. Polycrystalline panels are usually the least expensive per panel, monocrystalline sits in the middle to upper range, and thin-film costs vary considerably depending on the specific material and manufacturer. Because payback period depends on both upfront cost and how much electricity a system produces, a cheaper polycrystalline system on a large roof can sometimes reach a comparable payback timeline to a pricier monocrystalline system on a smaller one — the total production, not just the price per panel, is what determines the real comparison.
As covered in our dedicated payback period guide, it’s worth running this calculation with your actual roof measurements rather than relying on a generic per-watt cost comparison between technologies.
Step 8: Confirm Availability and Warranty Terms With Local Installers
Not every installer in your area carries every panel technology, and this step is easy to overlook until late in the process. Thin-film panels in particular are less commonly stocked by residential installers than crystalline options, so confirming availability before finalizing a decision can save a round of re-planning. It’s also worth confirming warranty terms directly, since manufacturer warranties can vary meaningfully between technologies and even between manufacturers using the same core technology — a detail worth raising directly with any installer you’re evaluating, alongside the other questions covered in our installer due diligence guide.
Matching Roof Conditions to Panel Type at a Glance
| Roof Condition | Best-Suited Technology | Why |
|---|---|---|
| Limited roof space | Monocrystalline | Highest output per square foot |
| Large, uninterrupted roof | Polycrystalline | Lower cost, space compensates for lower efficiency |
| Persistent partial shading | Thin-film (in specific cases) | Better tolerance for shaded or diffuse light |
| Hot climate, dark roofing material | Monocrystalline or thin-film | Better temperature coefficients |
| Structural weight restrictions | Thin-film | Significantly lighter per unit of coverage |
| Priority on uniform appearance | Monocrystalline | Most visually uniform black finish |
Bringing the Steps Together
No single technology wins across every category in this comparison, which is exactly why working through these steps in order matters more than picking a favorite upfront. A roof with generous space, no shading, and a moderate climate might do perfectly well with polycrystalline panels at a lower cost. A cramped roof in a hot climate with some shading might point toward a hybrid decision, or toward accepting a slightly higher price for monocrystalline’s efficiency and temperature performance. The steps above are meant to be worked through in sequence, with each one narrowing the field before cost enters the picture at all.
What does your roof look like in terms of space, shading, and structural condition? Share those specifics, and it becomes far easier to point toward which of these three technologies is worth requesting quotes for first. Related guides: String Inverters vs Microinverters vs Power Optimizers: Which Actually Fits Your System, How to Actually Calculate Your Solar Panel Payback Period, and Is Your Roof Actually Good for Solar? A Practical Assessment Guide.
🔗 Recommended Reading
- Solar Panel Monitoring Apps: A Setup Guide for Beginners
- How to Read Your Electricity Bill After Solar: A Line-by-Line Walkthrough
- Solar Incentive Paperwork: Common Filing Mistakes That Delay Your Rebate
- Home Battery Sizing Mistakes That Lead to Blackout Regret
- Common Solar Installer Mistakes Homeowners Should Catch Before Signing